Creating
Create posts when you want to share news, updates, or resources with your members.
Add a post
Open your mesh and select Posts, then choose Add Post. You’ll be asked for:
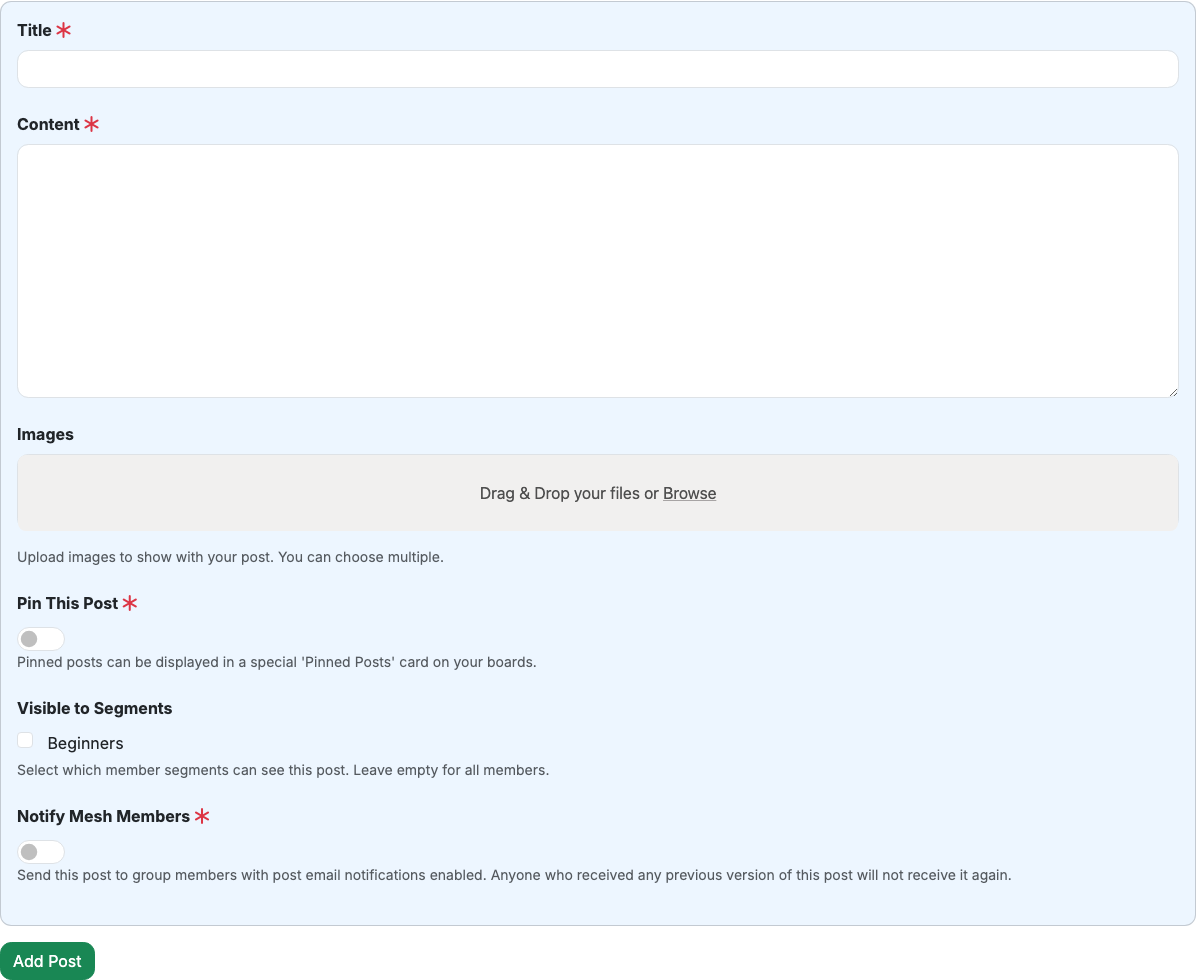
- Title: a short headline for your update.
- Content: the main message you want members to read. This is a rich‑text editor — see Formatting your post below.
- Images (optional): attach one or more images.
- Pin This Post (optional): keep an important post visible in pinned post lists.
Formatting your post
The Content box is a rich‑text editor. Use the toolbar above it, or select some text to bring up a quick formatting bar. You can add:
- Headings and a Quote style from the text‑style dropdown,
- Bold, Italic, and Strikethrough,
- Bulleted and numbered lists,
- Links (choose the link button and enter a web address), and
- Undo / Redo.
If you prefer typing, the usual shortcuts work too: # for a heading, *bold*, _italic_, ~strike~, `code`, [text](https://…) for a link, and lines starting * or 1. for lists. Keyboard shortcuts include Cmd/Ctrl+B (bold), +I (italic), and +K (link).
Images are added with the separate Images uploader, not inside the text.
Choose who can see it
If your mesh uses member segments, you can limit visibility to specific segments. Leave it blank to make the post visible to all members.
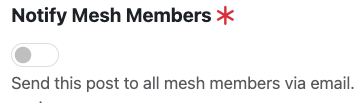
Notify members (optional)
If post email notifications are enabled for your mesh, you can send the post to members by email. Members will only be emailed the first time they receive a post — editing a post won’t resend it.